


The Kitchen: Before & After
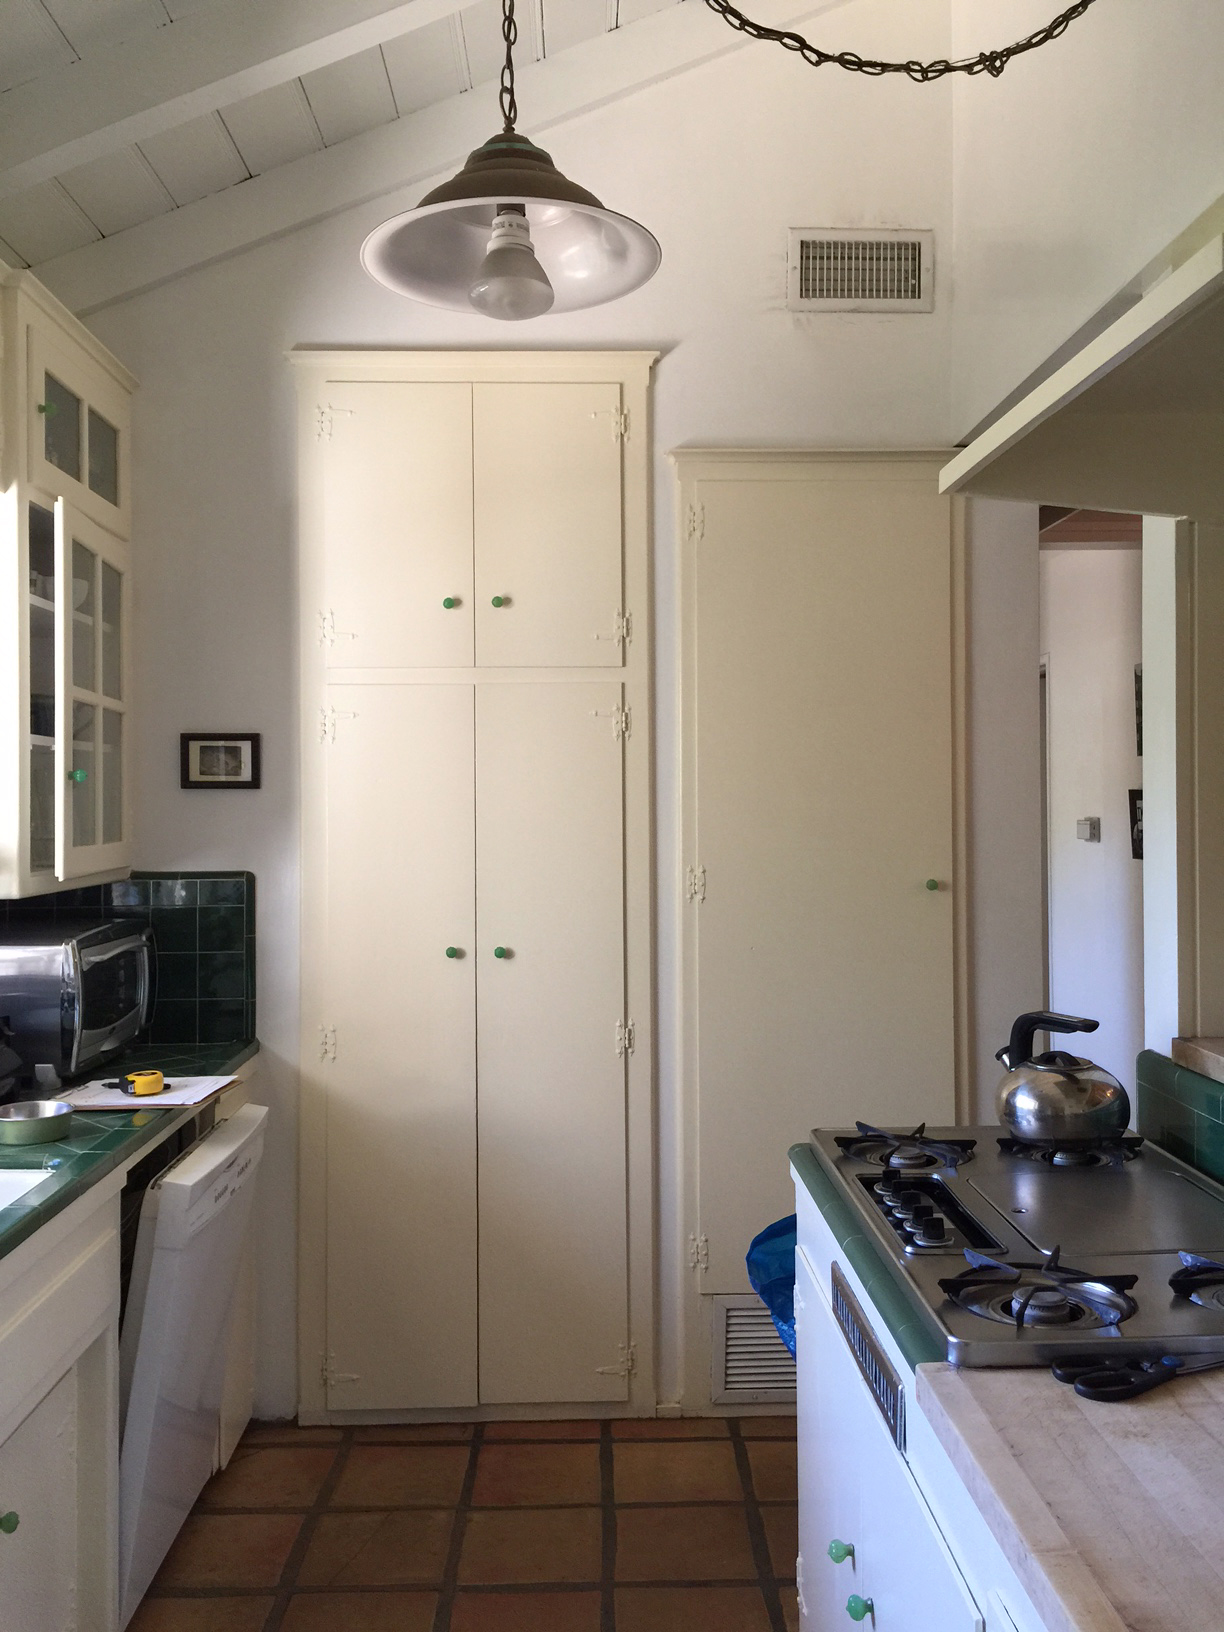
I'm excited to share our kitchen today. This is the space where David and I cook our favorite one-pot meals together every Sunday, where we share the quick "how was your day?" and where Hoku appears at the drop of a hat when he hears the sound of vegetables being cut on the chopping block. If you want to see the before pics first, close your eyes and scroll really quickly to the slideshow at the bottom, but I just couldn't help but to start off with the AFTERS. So without further ado, put on your sunnies and I present to you our blindingly white kitchen.


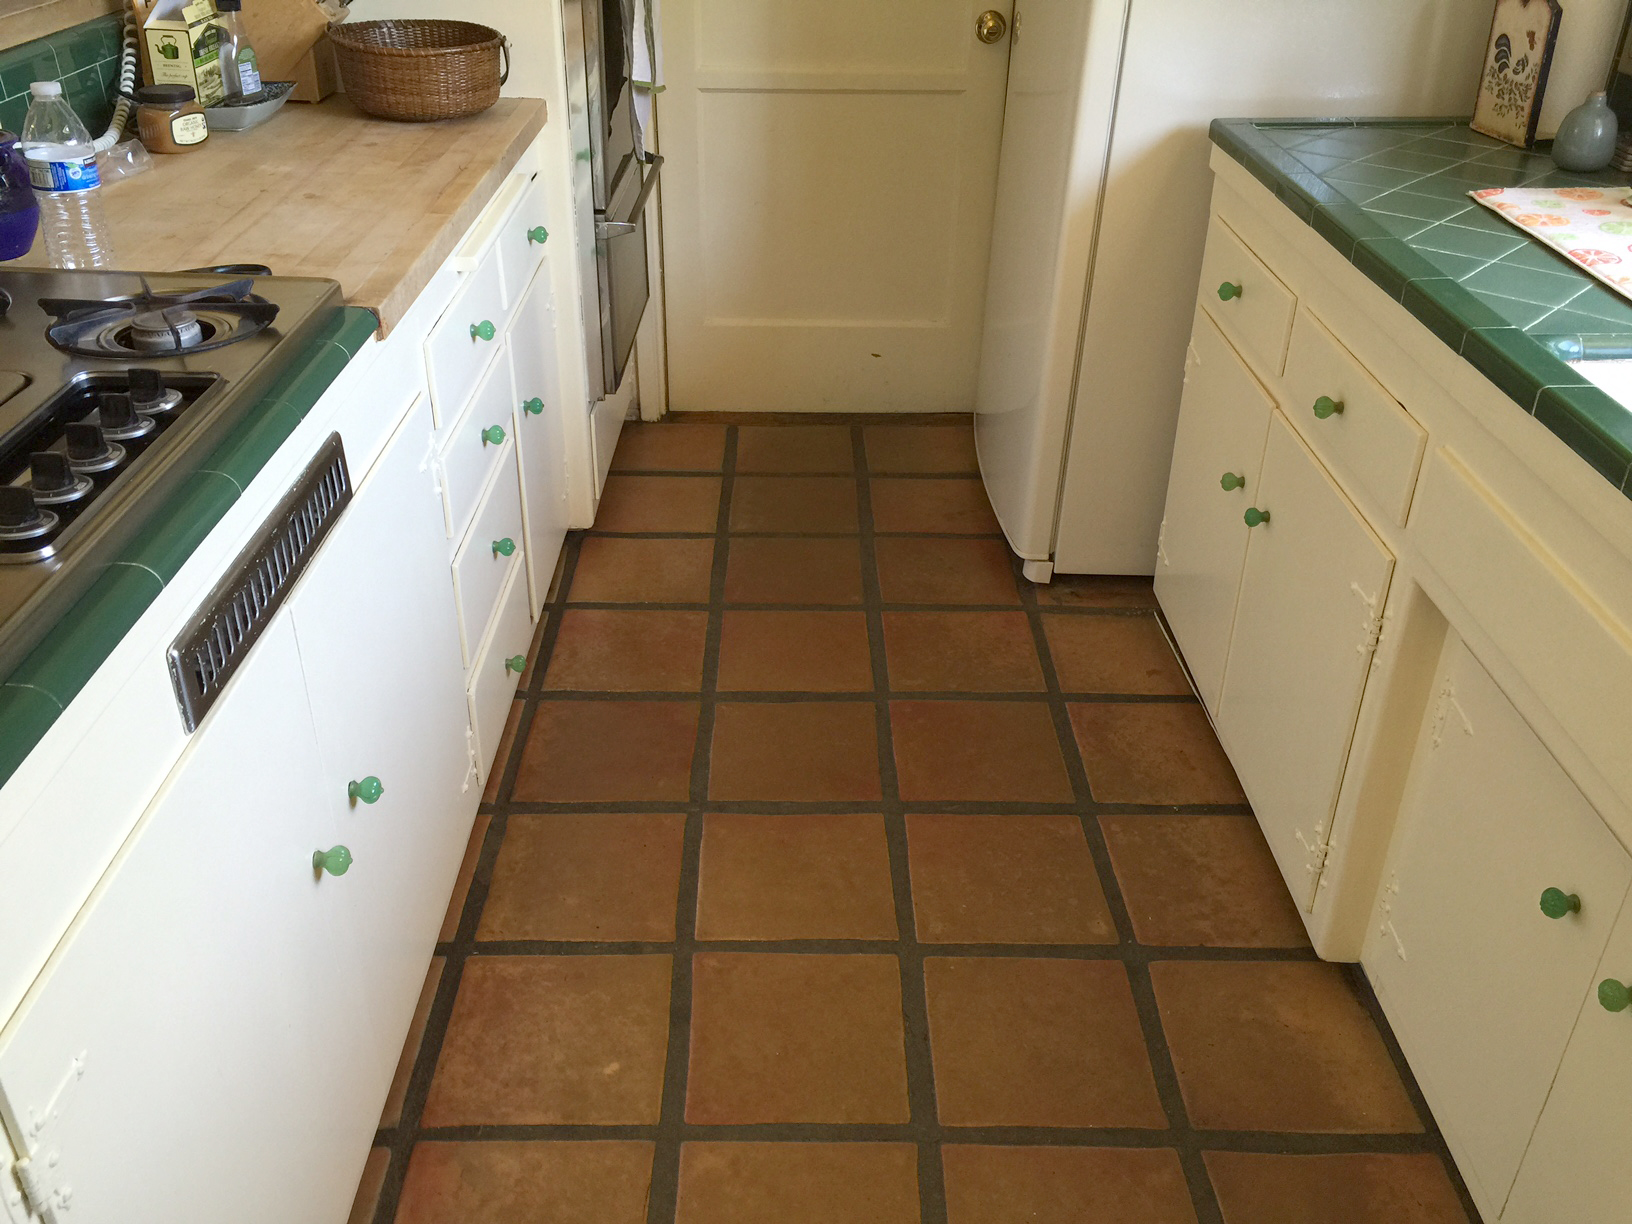
Our goal with the kitchen was to give it the best facelift possible without breaking the bank. David and I aren't crazy chefs and all we really wanted was a space that was clean and comfortable. The old kitchen had these large red Spanish floor tiles that I absolutely loathed because it had dark 1" grout lines, but I convinced myself that I could live with it. One of the things we absolutely needed to remove, however, was the old dishwasher because it was just smelly and unsanitary. But get this...they had installed the dishwasher, then literally tiled it in. Like, permanently. So in order to remove the dishwasher, all the offensive tile had to go. (Not great news for the budget but sorry, not sorry?) We ended up continuing the hardwood into the kitchen since we were refinishing the rest of the house anyway and I'm so glad we did because, it looks soooo much better now. And where the dishwasher was, we turned into a drawer for trash and recycling to declutter our floor space.

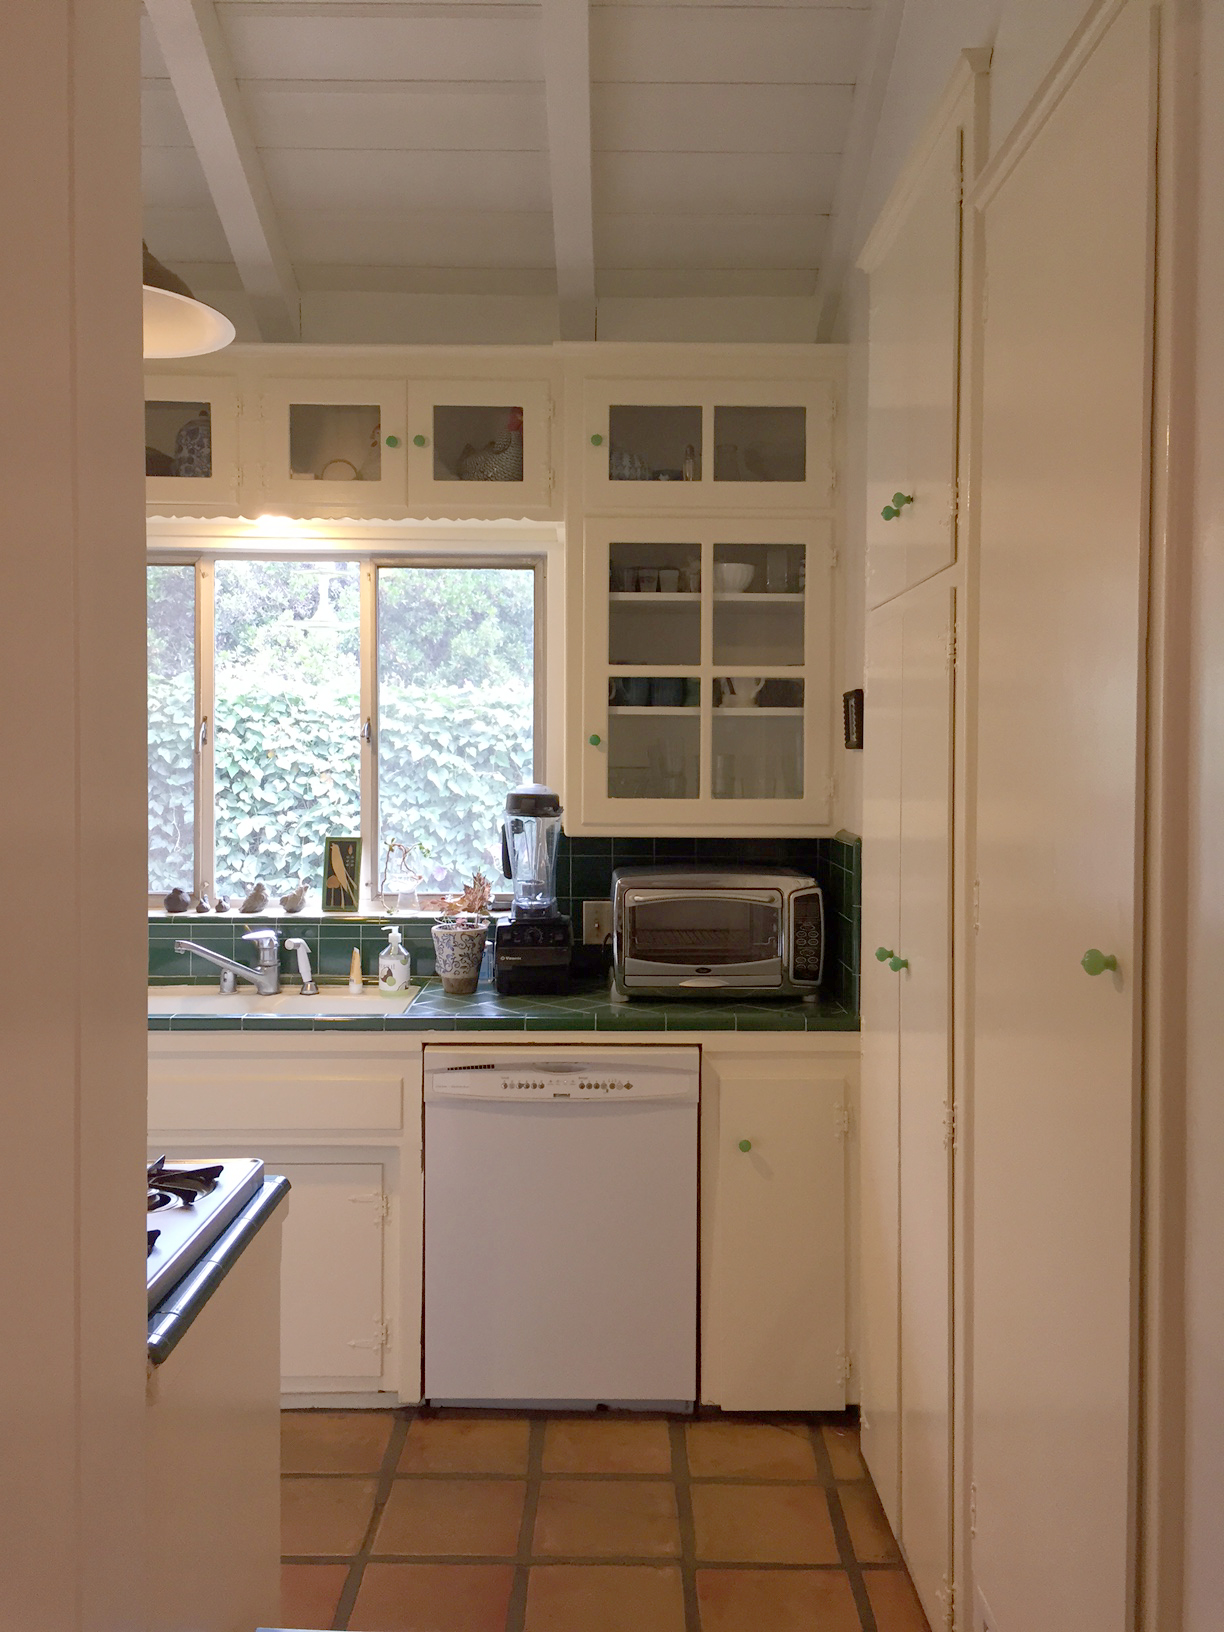
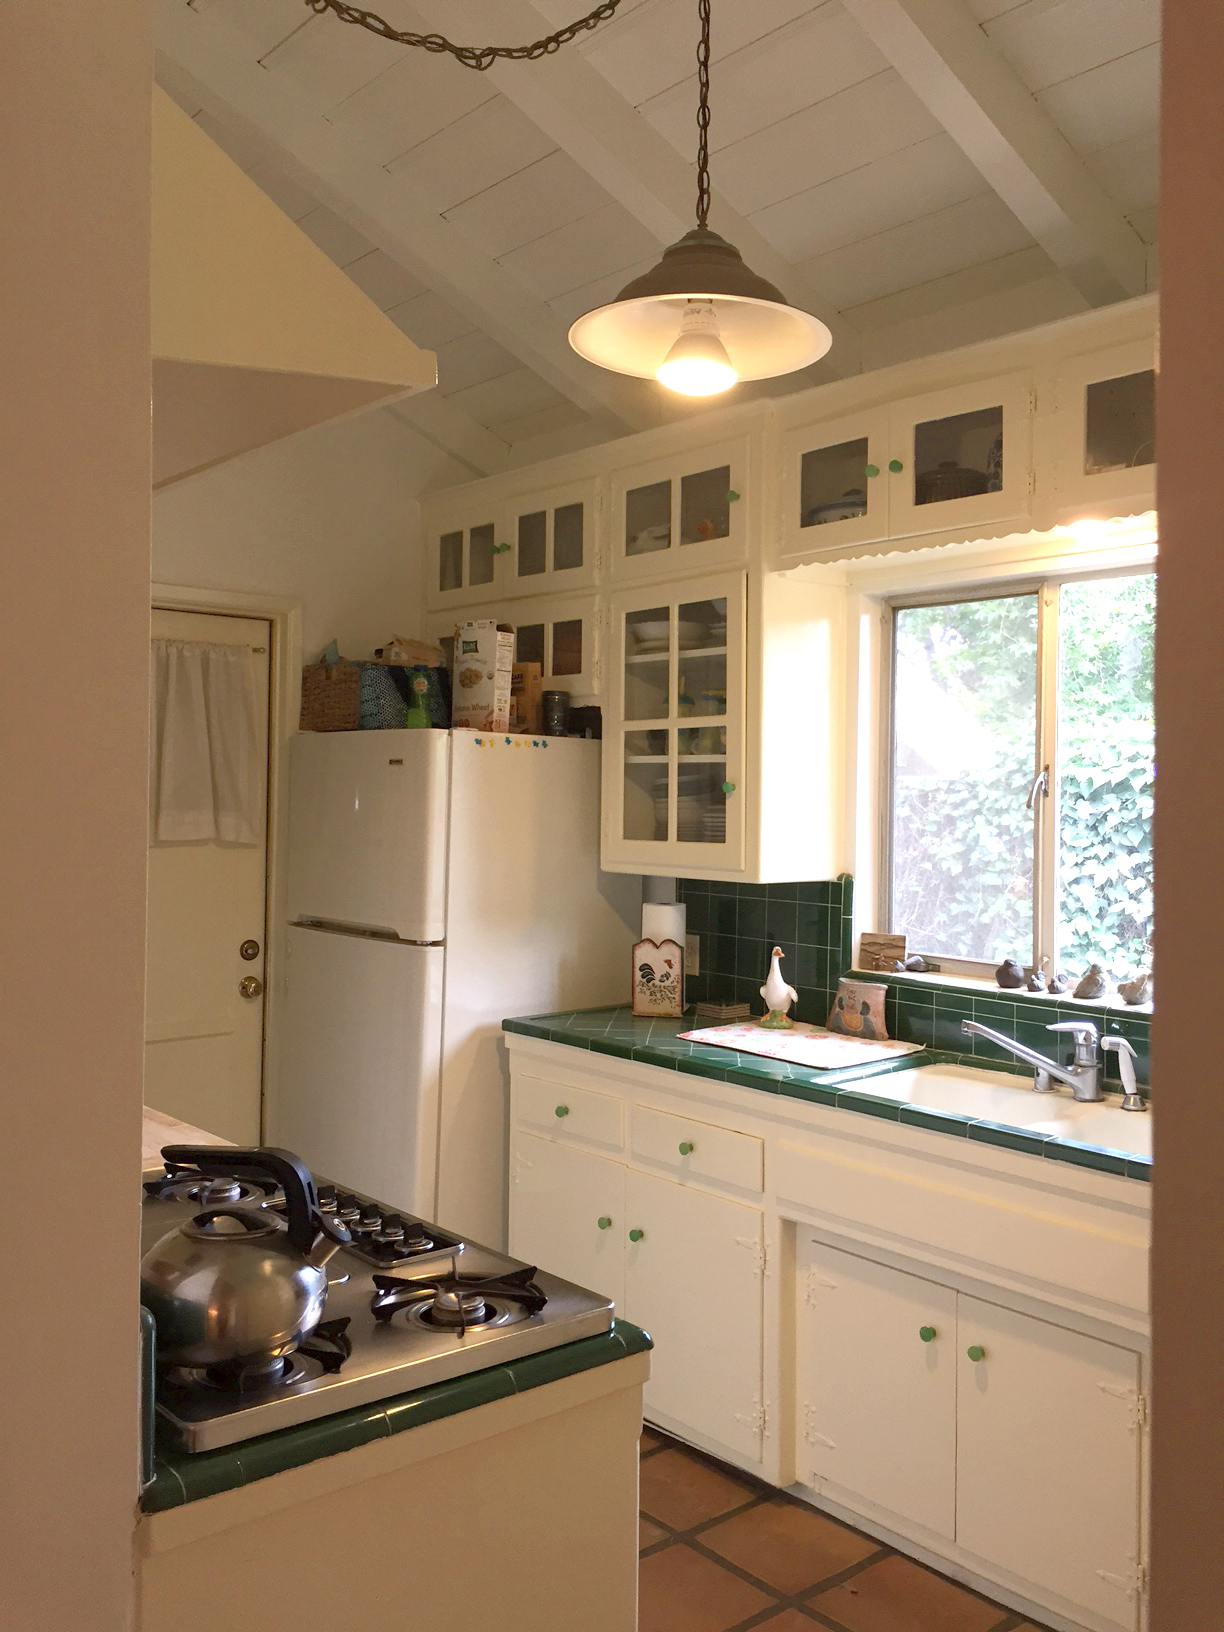
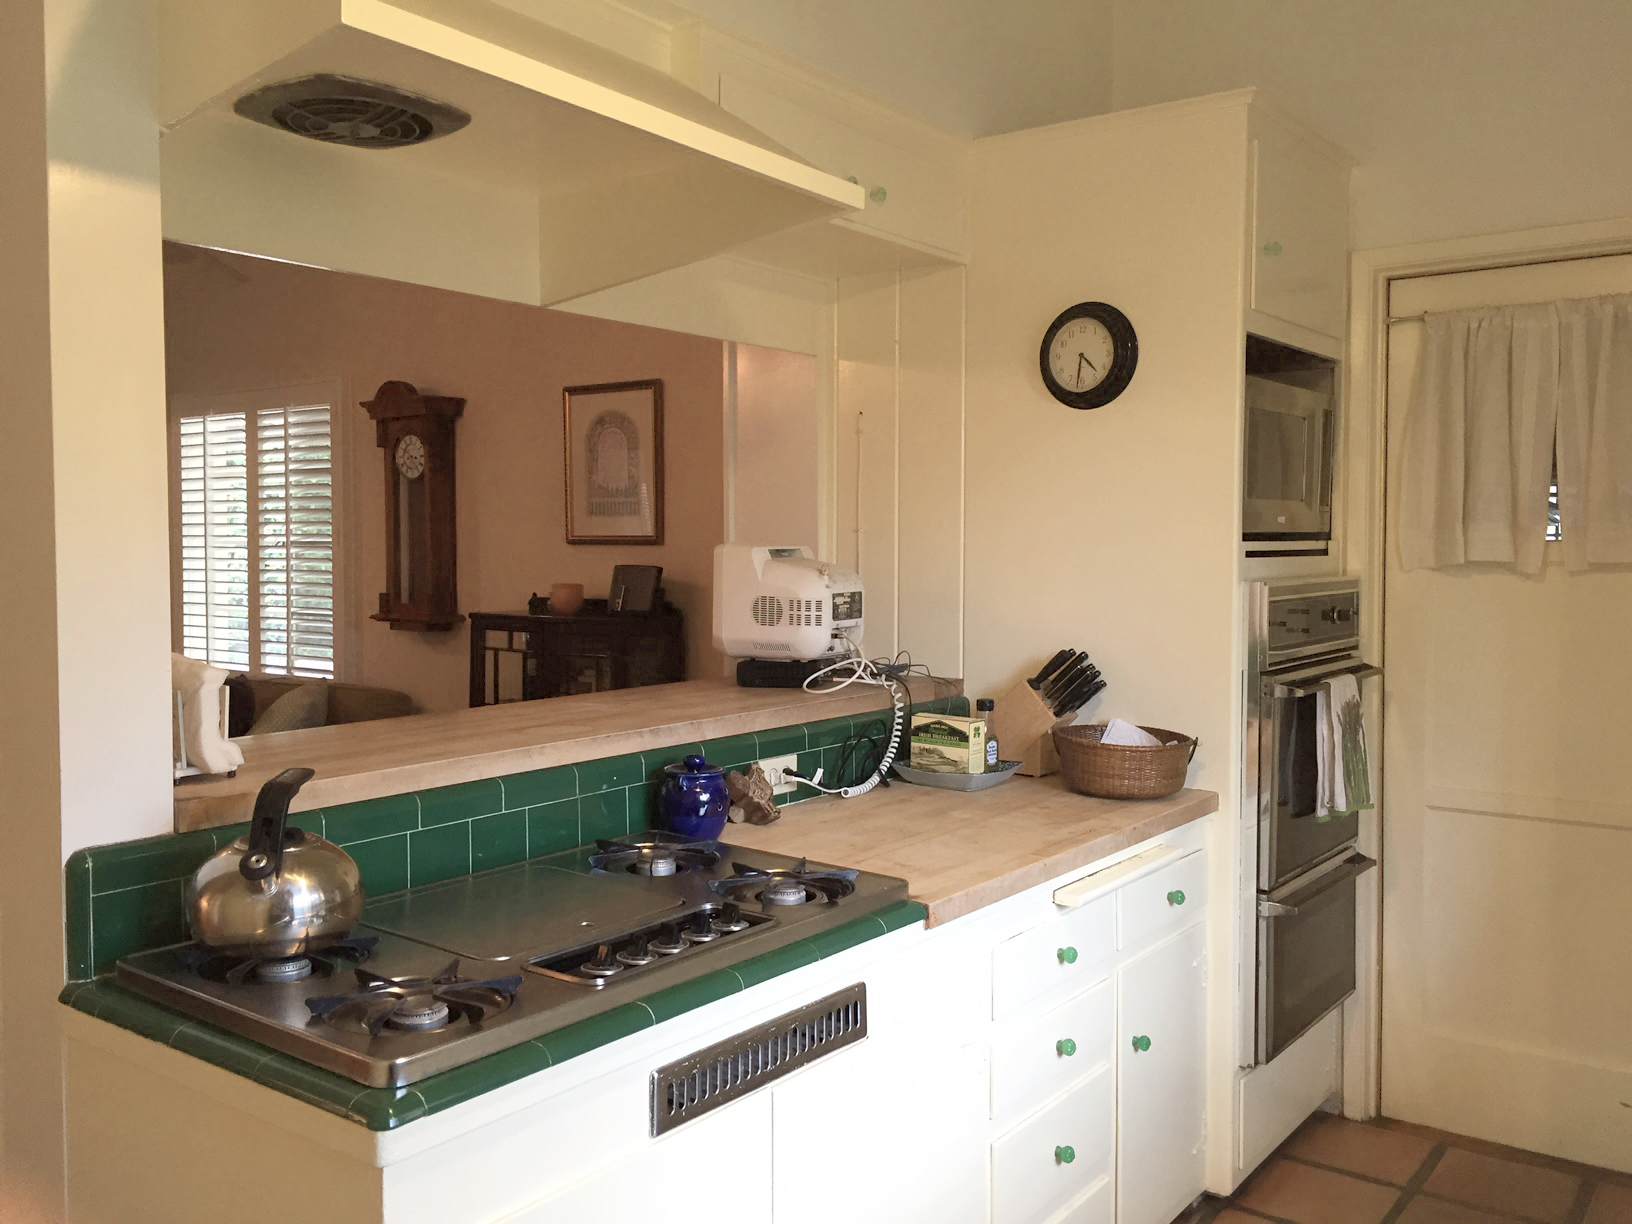
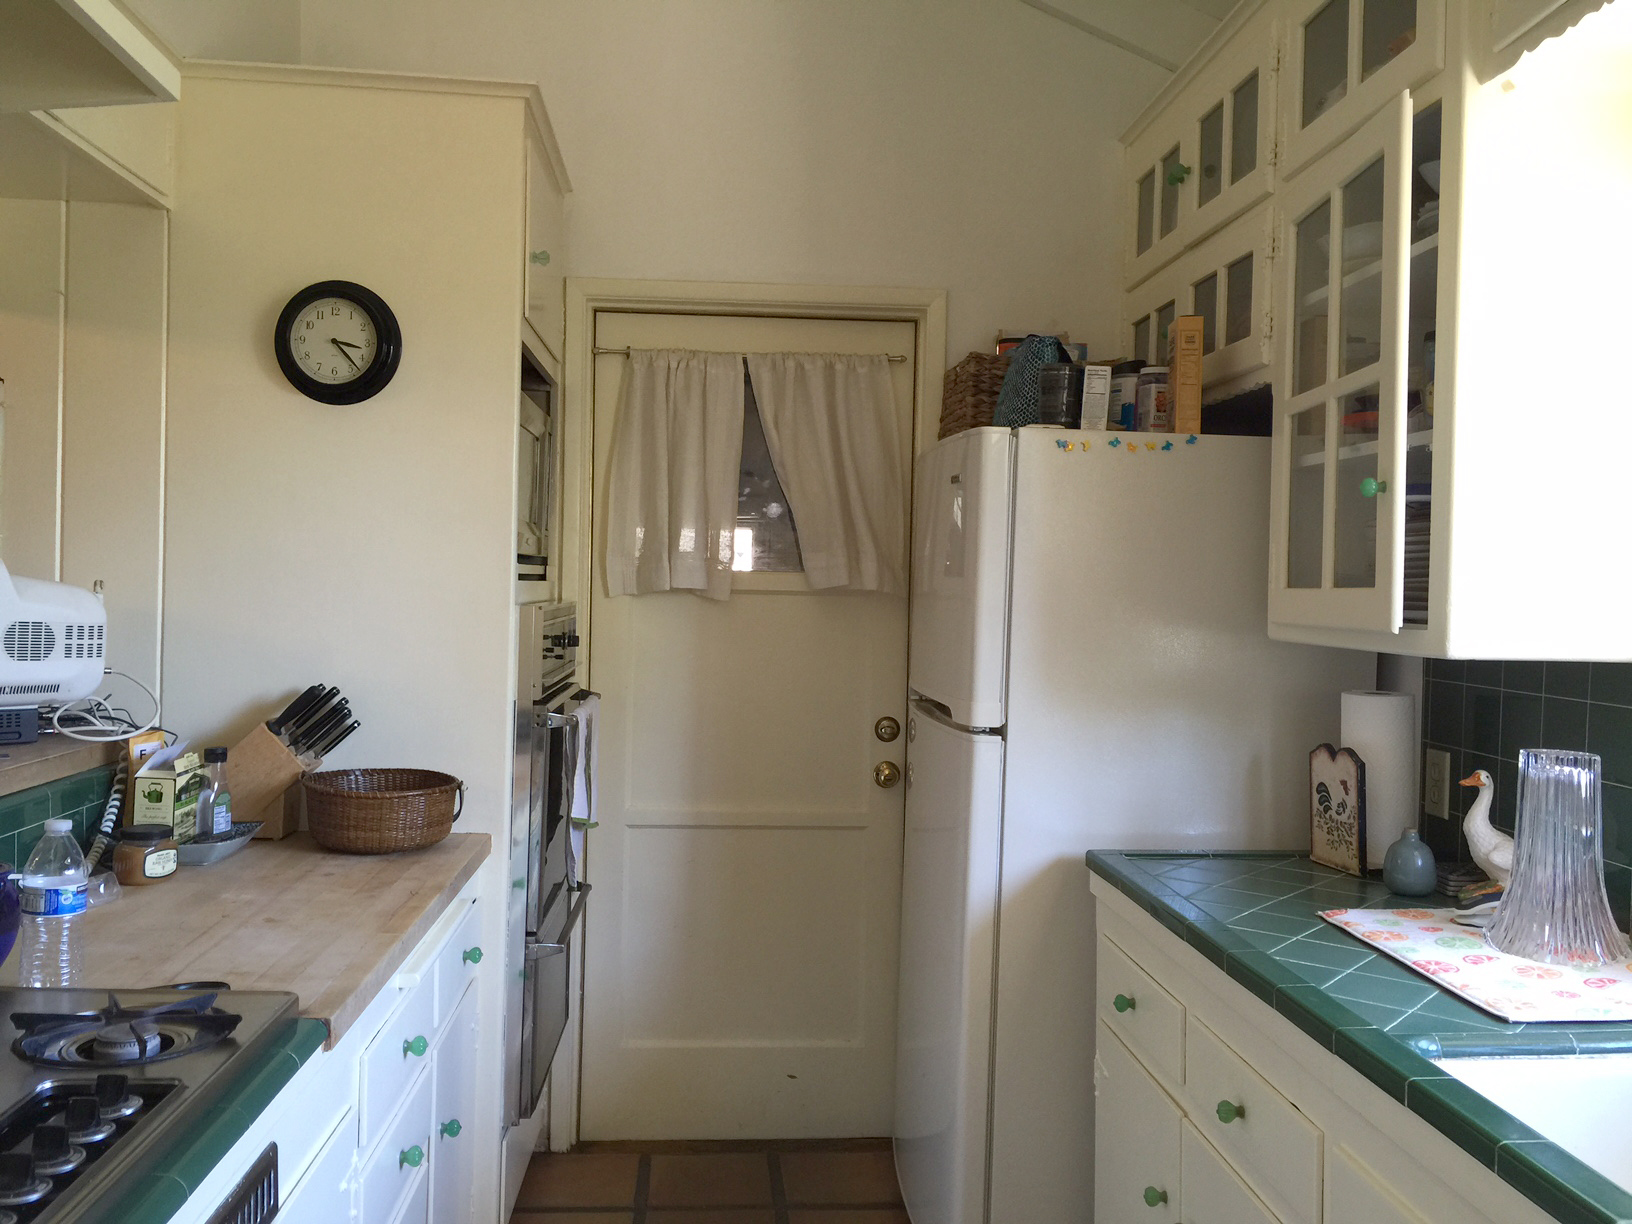
The kitchen cabinets are all original as is the butcher block and cooktop. The cabinets got a fresh coat of paint, new hinges and hardware. Stripping four layers of cruddy old yellow paint off the cabinets was probably my least favorite part of the process as it involved two full weekends of breathing in heavy fumes and applying a strong stripping agent that came close to burning the skin off our hands. But it was worth it...I think. We also got rid of all the dark green 50's style square tiles, replacing it with a 2"x8" marble subway tile backsplash and white quartz countertop.

Shopping for appliances was another ordeal. We had no idea how difficult it would be to find appliances to fit small 50's kitchens, namely the fridge and the gas wall oven. After extensive research, we literally found the only fridge in existence (that was available in the US and wasn't some super fancy expensive appliance that had to be imported from Germany) that would fit our shallow 24" counter depth and other very specific old school kitchen dimensions. It was one of those scary big purchases that we had to just buy blindly from an appliance store in New York without seeing the actual thing in person because it wasn't available locally, so we crossed our fingers and hoped for the best. Luckily, it all worked out perfectly. So, thanks Summit, for being the brand that no one's ever heard of that also looks out for those of us with tiny kitchens!
Secondly the gas wall oven. Did you know that the gas wall oven is basically obsolete? Seriously they are all electric now. If you've ever searched for wall ovens on homedepot.com, you probably started off with like maybe 300 options, but after selecting "gas" and 24" widths, guess what? You end up with ONE option. A couple weeks before we were to install our oven, homedepot.com gives me the biggest heart attack by announcing that our only oven option in existence was discontinued and no longer available. (The alternative? Pay $3000 to upgrade our circuit breaker box to handle an electric oven, which was not an option.) I panicked and cried and scoured the Internet to no avail. Luckily our handyman was kind enough to call a local appliance store on our behalf only to find that they had one unit left. It was a bold stroke of luck and we made a mad dash to the store to pick it up. So yes, for all intents and purposes, we feel like we got the last 24" Maytag Gas Wall Oven with Delayed-Start Control ever.


In the end, we couldn't be happier with the results. Is it the ultimate chef's kitchen to end all kitchens? Not really. The drawers aren't those amazing soft close drawers, let alone have any tracks at all. The "vintage" cooktop is impossible to keep clean. The glass cabinet doors were a DIY job by a previous owner which has a ton of scratches and doesn't even align with the inside shelving. But you know, it's a little thing we like to call "character." And after living without a kitchen for months, finally having a kitchen at all and one to call our own just feels like a dream.


Fridge: Summit // Faucet: Delta // Sink: Vigo // Light Pendant: Schoolhouse Electric // Water Kettle: Smeg // Toaster Oven: Breville // Cooktop: "Vintage" Kenmore (original to the house) // Gas Wall Oven: Maytag // Microwave: Panasonic // Backsplash: The Tile Shop // Cabinet Pulls: MyKnobs.com // Sauce Pan: Dansk Kobenstyle // Copper Cannisters: Old Dutch

And finally, this is such a small detail but I have to mention it...we added an outlet to the counter area to make it a more functional space for working and charging devices! Did you know that you can replace any traditional outlet with a USB outlet? It's so brilliant and saves so much space. Definitely one of my favorite updates.

And now, I present to you, the BEFORES...enjoy!


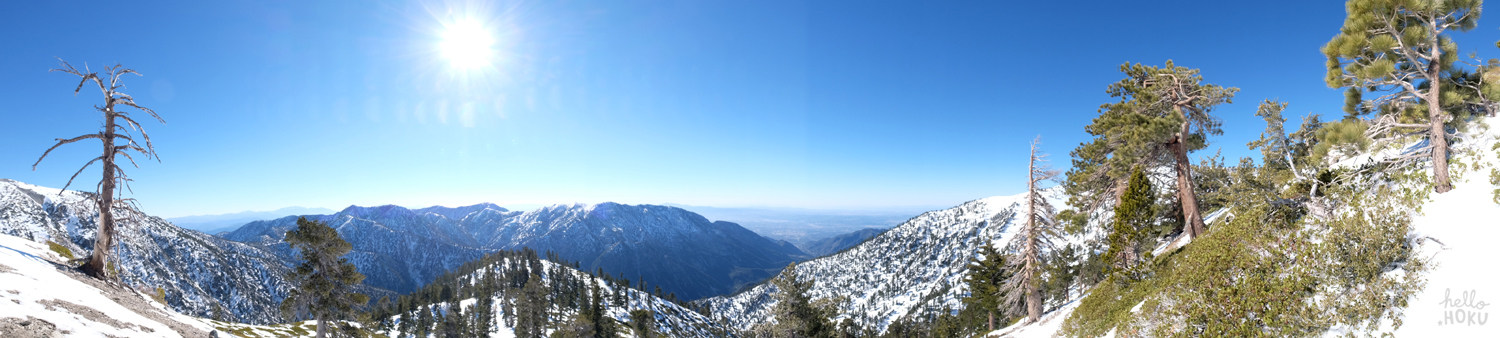
A Snow Adventure on Mount Baldy | 10,046 FT
Distance: 11 Miles | Time: 5.5 Hours | Elevation Gain: 5000 Ft
On Super Bowl morning, we headed out with grand plans to hike Cucamonga Peak for the second time. We parked in a nearly empty Icehouse Canyon parking lot and got our packs, gear and permit together before noticing two rows of yellow "Do Not Enter" tape blocking the trailhead entrance. The sign from the USFS mentioned a fire, which we thought was strange for this time of year, but nonetheless we weren't going to take any chances. So without skipping a beat, David looked at me, shrugged, and said, "Baldy?" "Baldy," I nodded. We were bright eyed and bushy tailed and God forbid that we woke up at an ungodly hour and drove all this way to just turn around. It was about 6:45am when we finally parked at Manker Flats and hit the trail, a little later than we wanted to start to avoid crowds, but thankfully it was surprisingly quiet for a weekend morning. (Thanks, Super Bowl.)

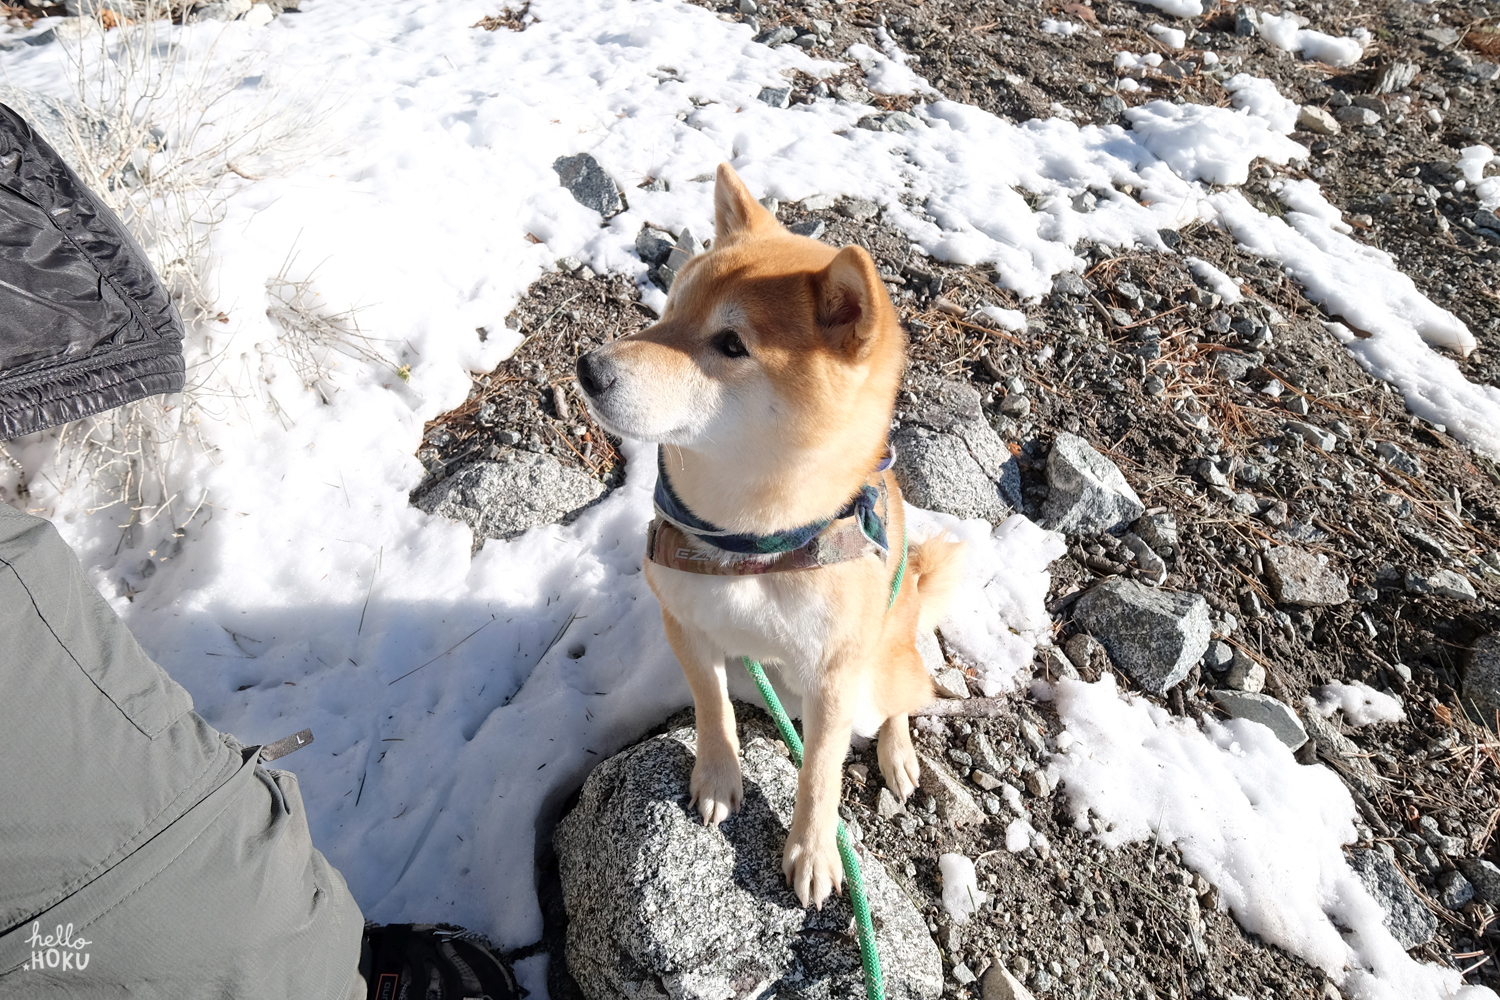
The trail quickly became icy as early as halfway up toward the ski hut. It was our fourth winter hike up Baldy and our first time seeing this much snow cover at these lower altitudes. To be cautious, we strapped on our miscrospikes and continued upwards, crunching our way along an increasingly snow-covered trail.


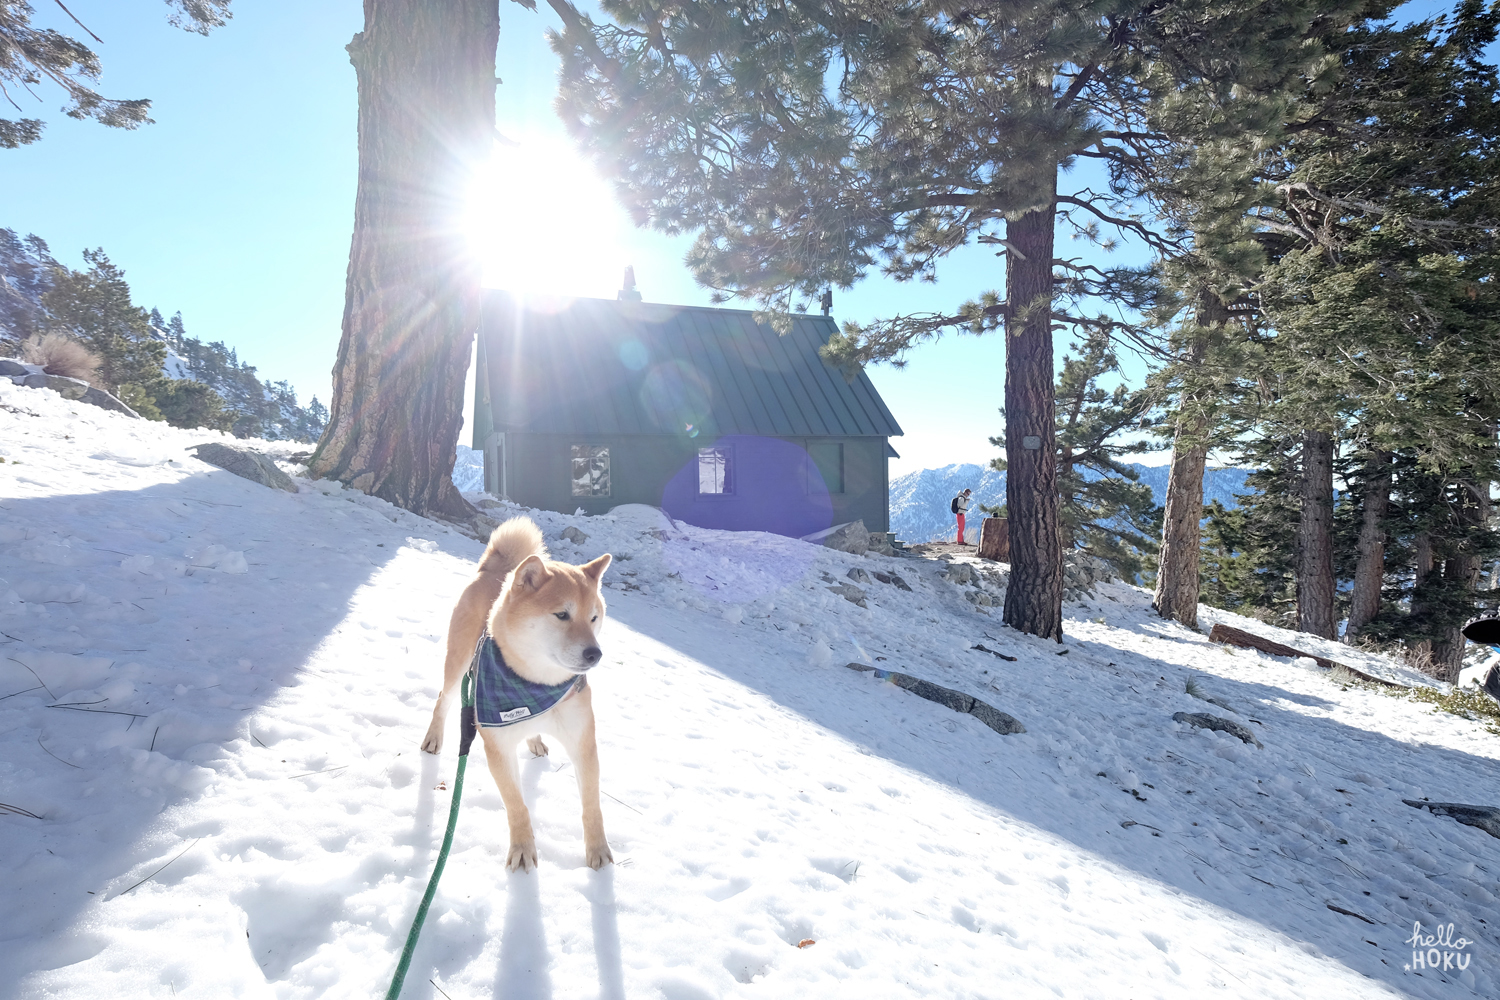
The first sign of the Sierra Club's iconic, green Mount San Antonio Ski Hut is always a welcome sight for sore legs. We veered right off the trail and found our usual spot on the hill above the hut for a quick water and snack break.


↑ The view from our favorite spot at the ski hut.

As we continued past the ski hut and began making our way across Baldy Bowl, we met some serious hikers attempting to hike straight up the bowl to the summit. Can you spot two of them below? Apparently this is only possible when there is heavy snow cover and as tempted as we were to try a new route, we decided to stick to our guns and follow the trail.


↑ Shameless husband and wife selfie.


I think it was at this point on the trail where it started getting CRAZY windy. Like, why is Hoku suddenly walking sideways windy. I think there was even one section where we were almost crawling on all fours just so we wouldn't get blown over. For that reason, I don't have too many photos of this part of the hike. Safety first after all.


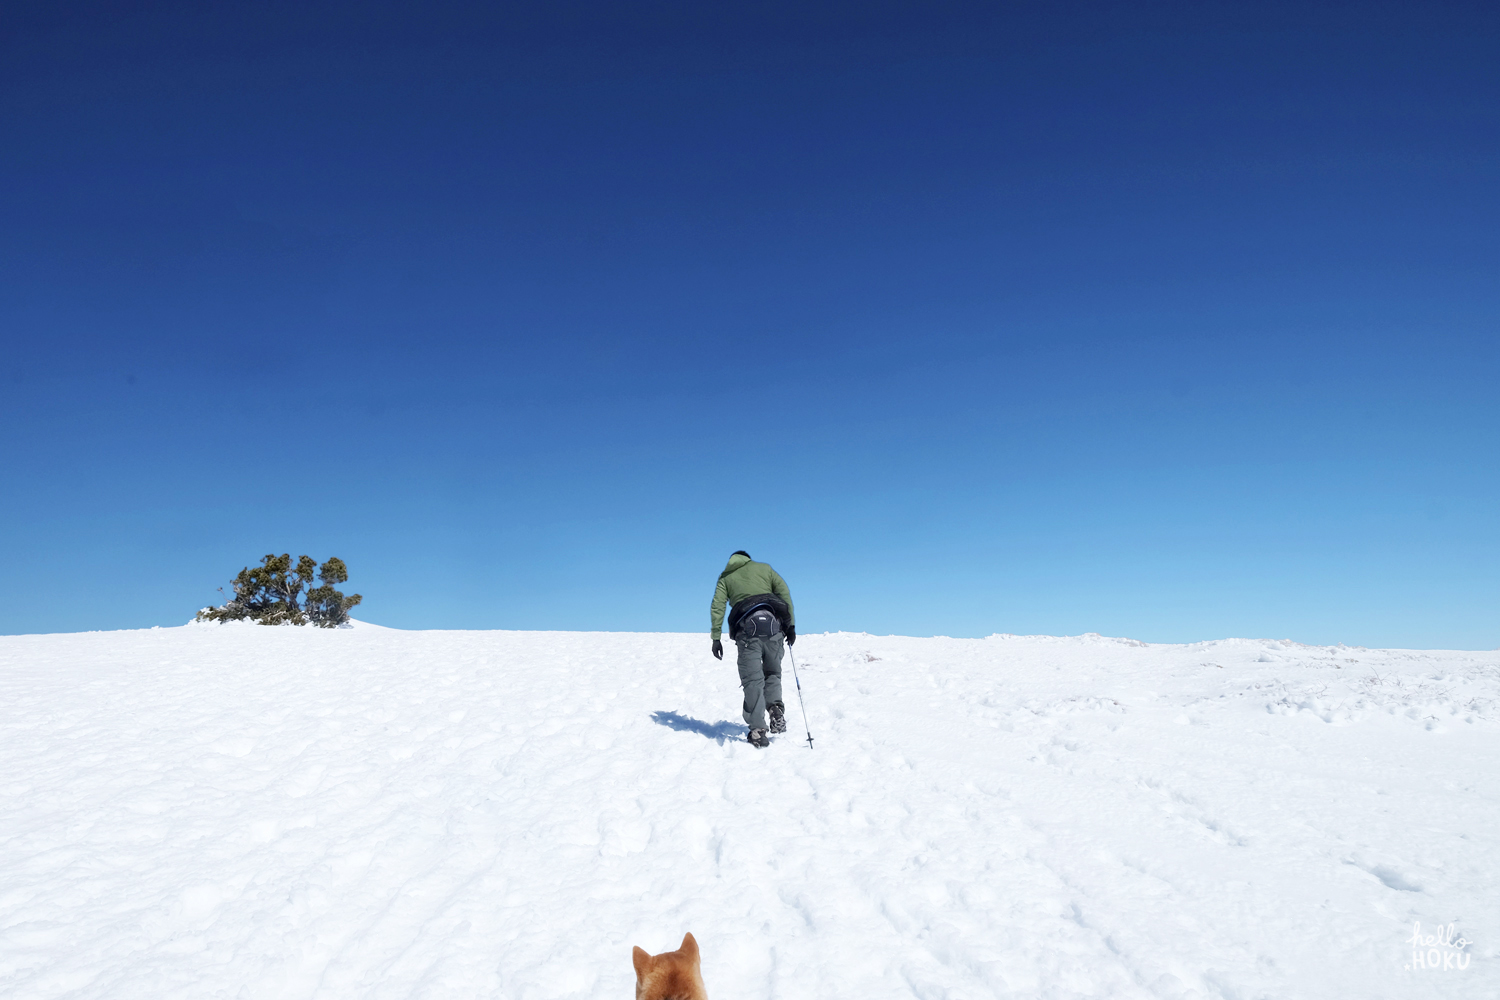
↑ Here we are almost to the summit. We always look for this tree to know that we're headed in the right direction. This time last year, we were sitting under the tree eating lunch. With all the snow cover, it's looking more like a bush.


↑ The snowy summit of Baden-Powell to the north! We were there just two weeks ago looking in this direction.


With the Baldy summit pretty much all to ourselves for the first time EVER, we let Hoku run around freely until other hikers started arriving. But for a few minutes, it was our very own magical, snowy playground above LA.


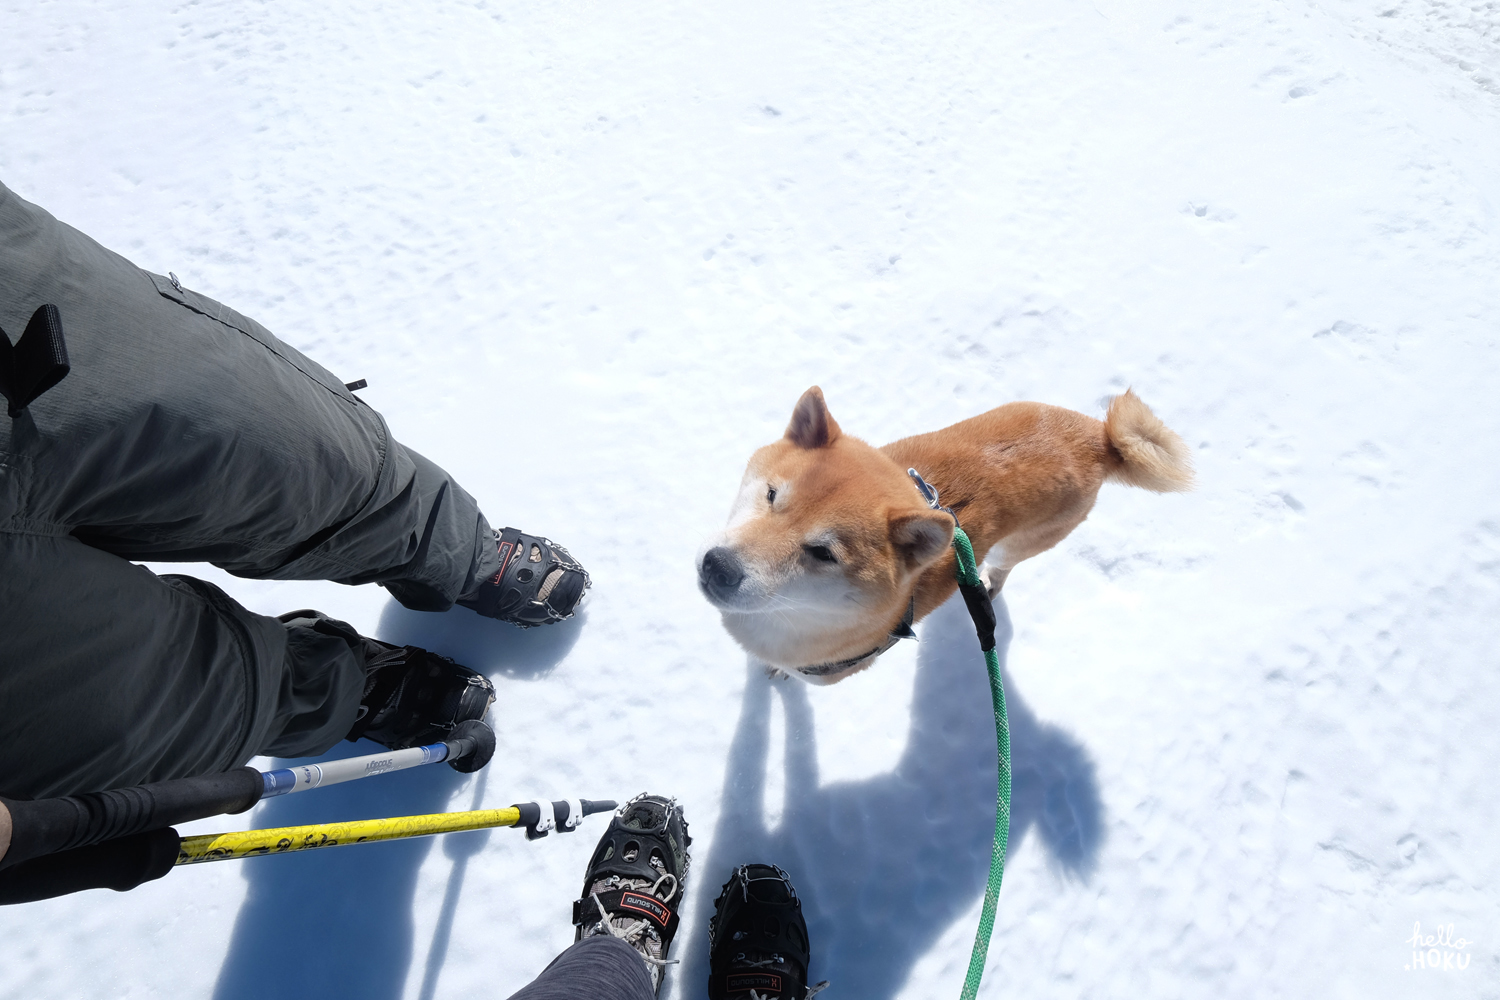


As the wind chill started getting to us, we started down the mountain and David became worried that Hoku was getting cold and held him in his arms for a few good minutes. It was one of the warmer days we've had recently so I didn't think to bring Hoku's coat. I had forgotten to take into account the crazy wind chill factor and felt like just the worst dog mom :(
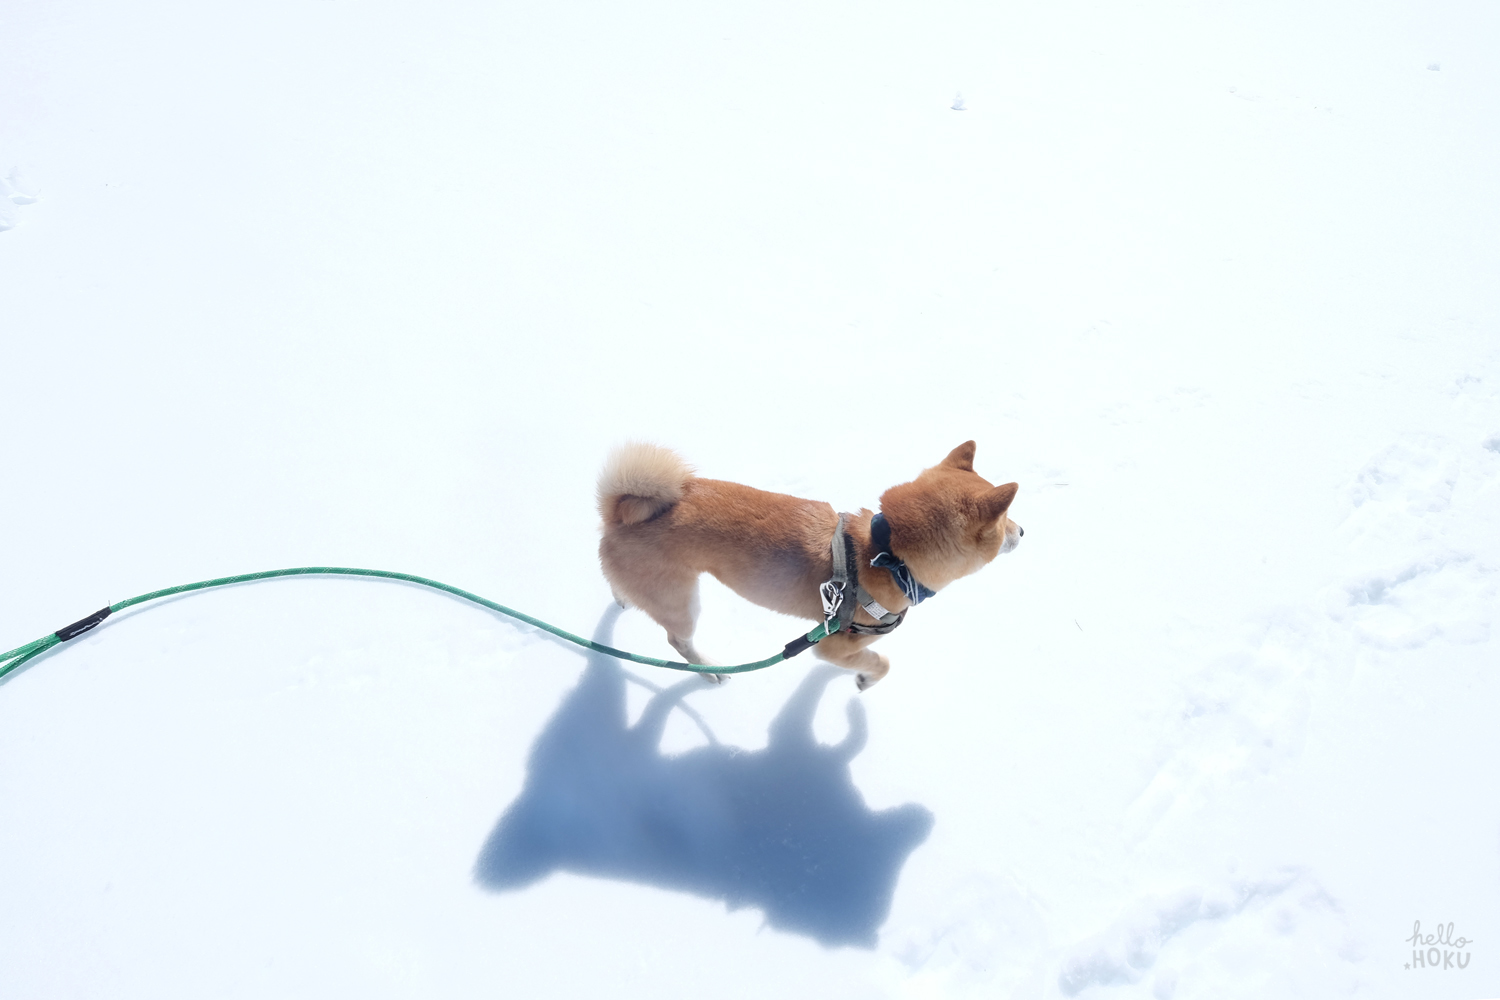
Once it got too steep and slushy, we dropped the leash and let Hoku walk on his own most of the way until we got back down to Baldy Bowl. It was the first time we've trusted him enough to hike by himself and surprisingly he was a really good boy and followed us closely. I wonder if his pack mentality is stronger in the wild.


↑ His "Enough pictures already, can we go now?" face.


We made it back down safe and sound, and in record time (5.5 hours!) which may not sound like much for more hardcore hikers, but it was our best Baldy time yet! It was our fourth snow summit up Baldy and our favorite to date.

On a scary note, we found two deer ticks on Hoku's cheek fur and one on my jacket after making it back to the car. Mostly likely from the trail below the ski hut which is slightly more overgrown and warmer than the trail at higher altitudes. We were surprised because it seemed very early in the year for ticks to be an issue, but upon further research, adult deer ticks apparently become active after the first frost and any winter day the ground is not snow-covered or frozen, which fit the timing of our hike perfectly. Dog people, please check yourself and your pup all over for ticks after hiking (even between their toes and in their arm pits). Read more about that and how to safely remove a tick here.
On an even somber note, our thoughts and prayers are with the two hikers who lost their lives climbing these mountains recently due to the extreme winter conditions. Please exercise extreme caution and do carry/ know how to use the proper gear if you plan to venture up any time soon.