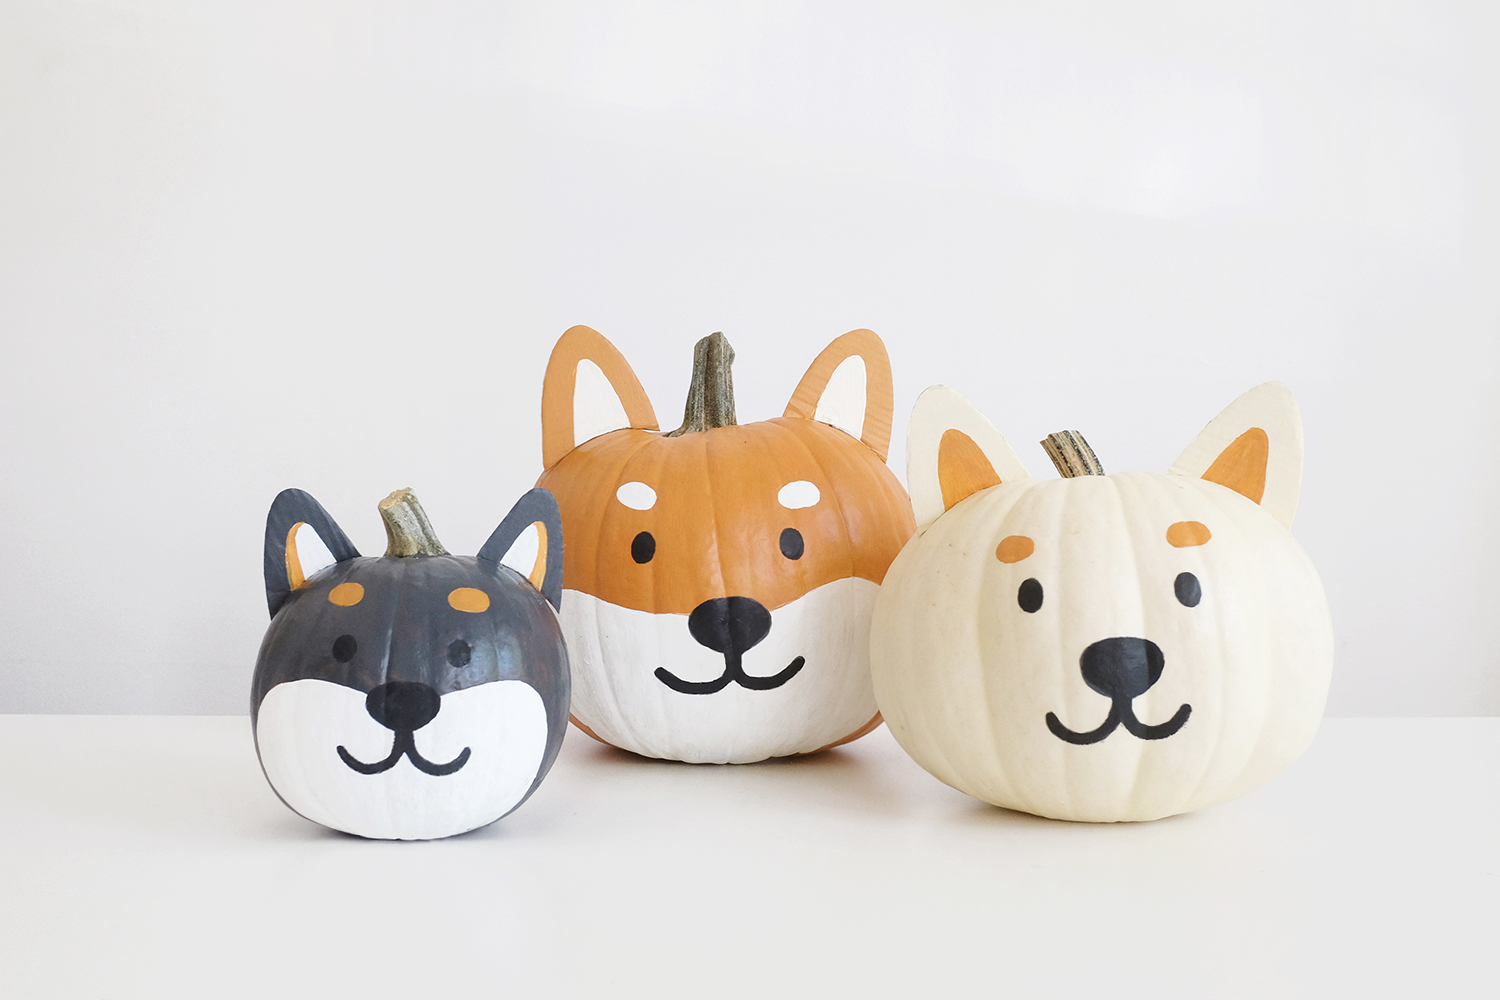
It’s officially the season of pumpkin and cinnamon-spiced-everything! Even though I’m actually not a fan of either (sorry, hardcore Fall people), I’ve always loved decorating the house with pumpkins to celebrate the beginning of the holidays. While the tradition at our house has always been to carve a pumpkin, I thought I’d try my hand at painting one (or rather, three) this year. And let me tell you, it was so much fun I might just be painting them every year from now on. (Plus, they last longer too!) Modeled after our Fox & Bagel Shiba sticker patches, this painted Shiba pumpkins DIY is super easy and guaranteed to make your front doorstep the cutest one on the block this Halloween when the trick or treaters come a-knocking.
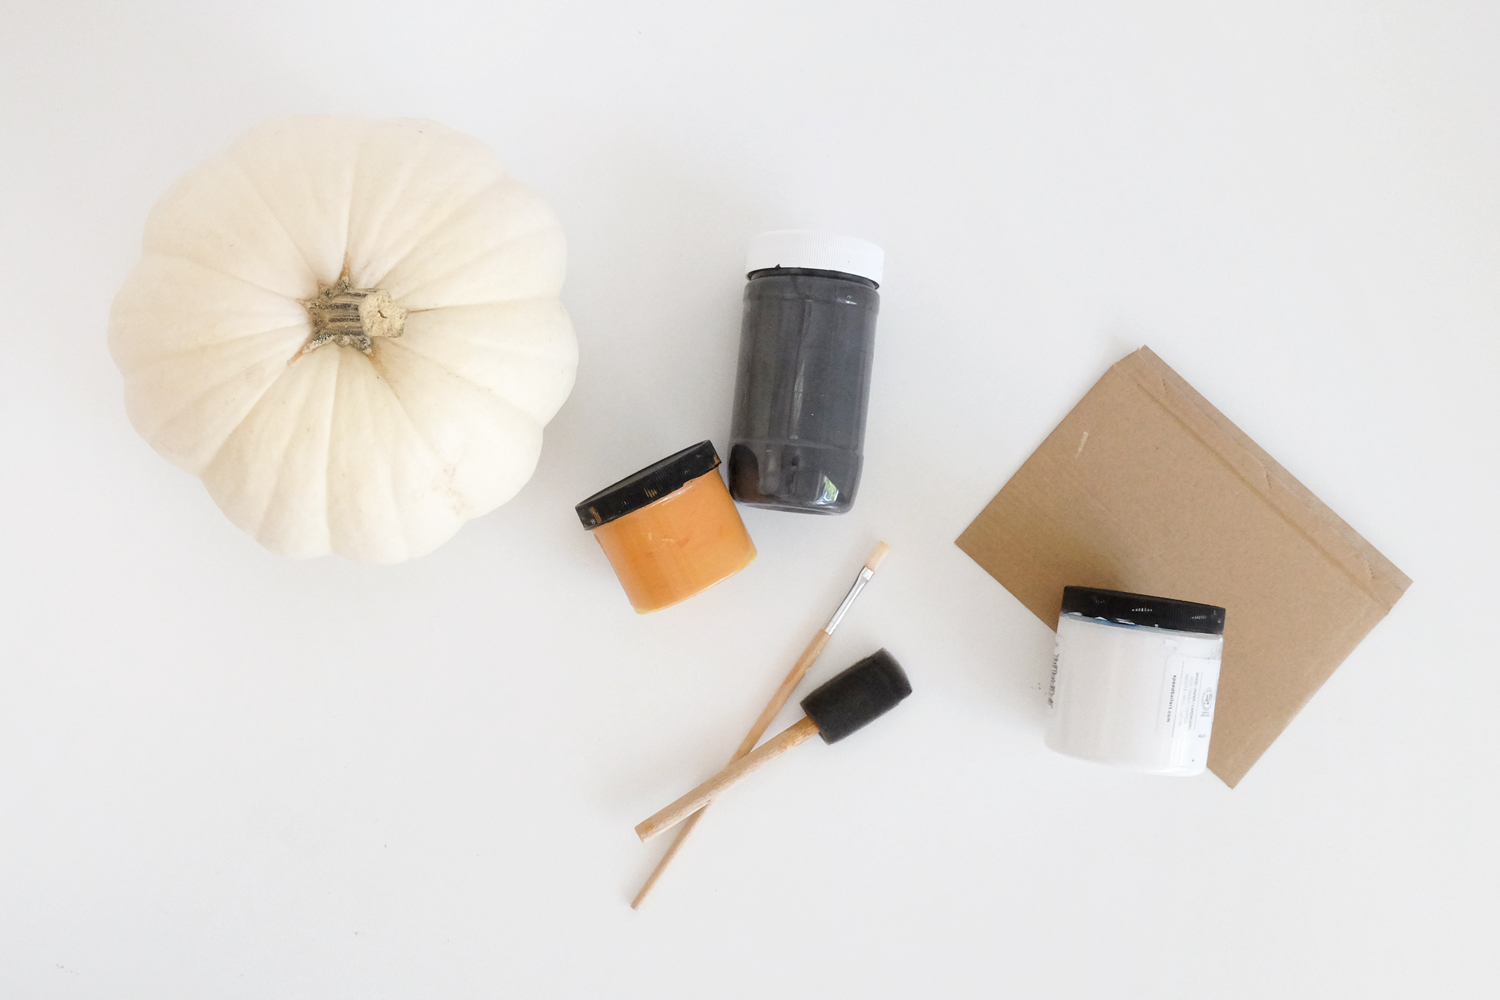
Materials
Pumpkins (I used orange pumpkins for the red and black & tan Shibas and a white pumpkin for the cream Shiba)
Acrylic Paint in Black, Orange and White
Foam Brush (for large areas)
Paint Brush (for details)
Uncoated Plain Cardboard (I used an old packaging box)
Scissors
Toothpicks
Clear Tape
Directions
Prepare your work area with newspaper or plastic.
Take your pumpkin and look for it’s best angle. This will be your Shiba pumpkin’s face. Sketch on the details (eyebrows, eyes, nose, mouth, and cheeks) lightly with a white pen or oil pencil to help guide you as you start painting. Use the foam brush to paint on the base color: black for a black and tan Shiba and orange for a red Shiba. I decided to leave my white pumpkin as it because I really loved it’s original, creamy white color! Some white pumpkins are a little more on the yellow side, so you may choose to paint over those if you wish.
Wait for the base color to completely dry before painting on the white cheeks. Once the white cheeks are completely dry, then paint on the eyes, nose and mouth. Although you will probably be tempted to carry on painting (I am totally guilty of this), this step is super important as you don’t want your paint colors to blend together and create a brownish, grayish mess on your pumpkin.
As your pumpkins dry, it’s now time to work on the ears. Take your cardboard pieces and sketch out two triangular ear shapes with a pencil. Use scissors or an X-Acto knife to cut them out. You will most likely have to make adjustments to the curved part where the ear meets the pumpkin as each pumpkin will have different grades of roundness. Paint the ears and wait for it to dry.
When both the pumpkin and cardboard ears are completely dry, do some test ear placements on your pumpkin and make any final adjustments to the curved, bottom part. Stick the toothpicks into the pumpkin where you want the ears to be placed and use a small piece of clear tape to secure them on.
And that’s all there is to it! A simple and festive DIY for any Shiba lover. Happy Fall days, everyone!
(Hoku’s definitely thinking there’s something a little odd about the three new Shibas that showed up to our house over the weekend, but can’t exactly place his paw on it.)


